Inosscan iOS Getting started
All you need is your phone to start your check-in/sign-on with Inosscan. You’ll be up and running in just a few minutes by following these 5 steps:
- Sign up or Login to Inosscan
- Create your event
- Add or import your people
- Send QR codes or assign NFC tags to your event participants
- Begin your Check-In
Sign up or Login to Inosscan
Inosscan uses a cloud database to enable support multiple users, devices, and accounts simultaneously.
Inosscan will display the Login/Signup page when you’re not logged in. Tap the Login/Signup button to get started.
Create your Inosscan user profile using email and password, or use Google or Apple authentication. If it’s your first time logging in, you’ll be prompted for the name you wish to use for your Inosscan account. Your account name can be anything you like. Generally it will be your Organization’s name.
Video showing how to create a new Inosscan account
Create your event
Select “New Event” from the menu on the events page to create a new event.
Video showing how to create an event in Inosscan
Add or import your people
You can add and import people right from the event by choosing “Show event participants” from the menu on the event’s detail page.
Video showing how to create and import people into Inosscan
User guide links:
Send QR Codes
Event participants with email or phone details can be sent a QR code to be used for check in and check out.
QR codes can also be downloaded and printed onto sticky labels for people to wear on their chest and scanned for check in and check out.
Video showing how to send QR Codes to event participants in Inosscan
User guide links:
Optional: Assign NFC tags if you have them
It takes just a few seconds to assign an NFC Tag to a person. Tags can be assigned as they’re issued to people as shown in the following video.
Video showing how to assign NFC Tags to people in Inosscan
User guide link:
And you’re now ready to Check-In
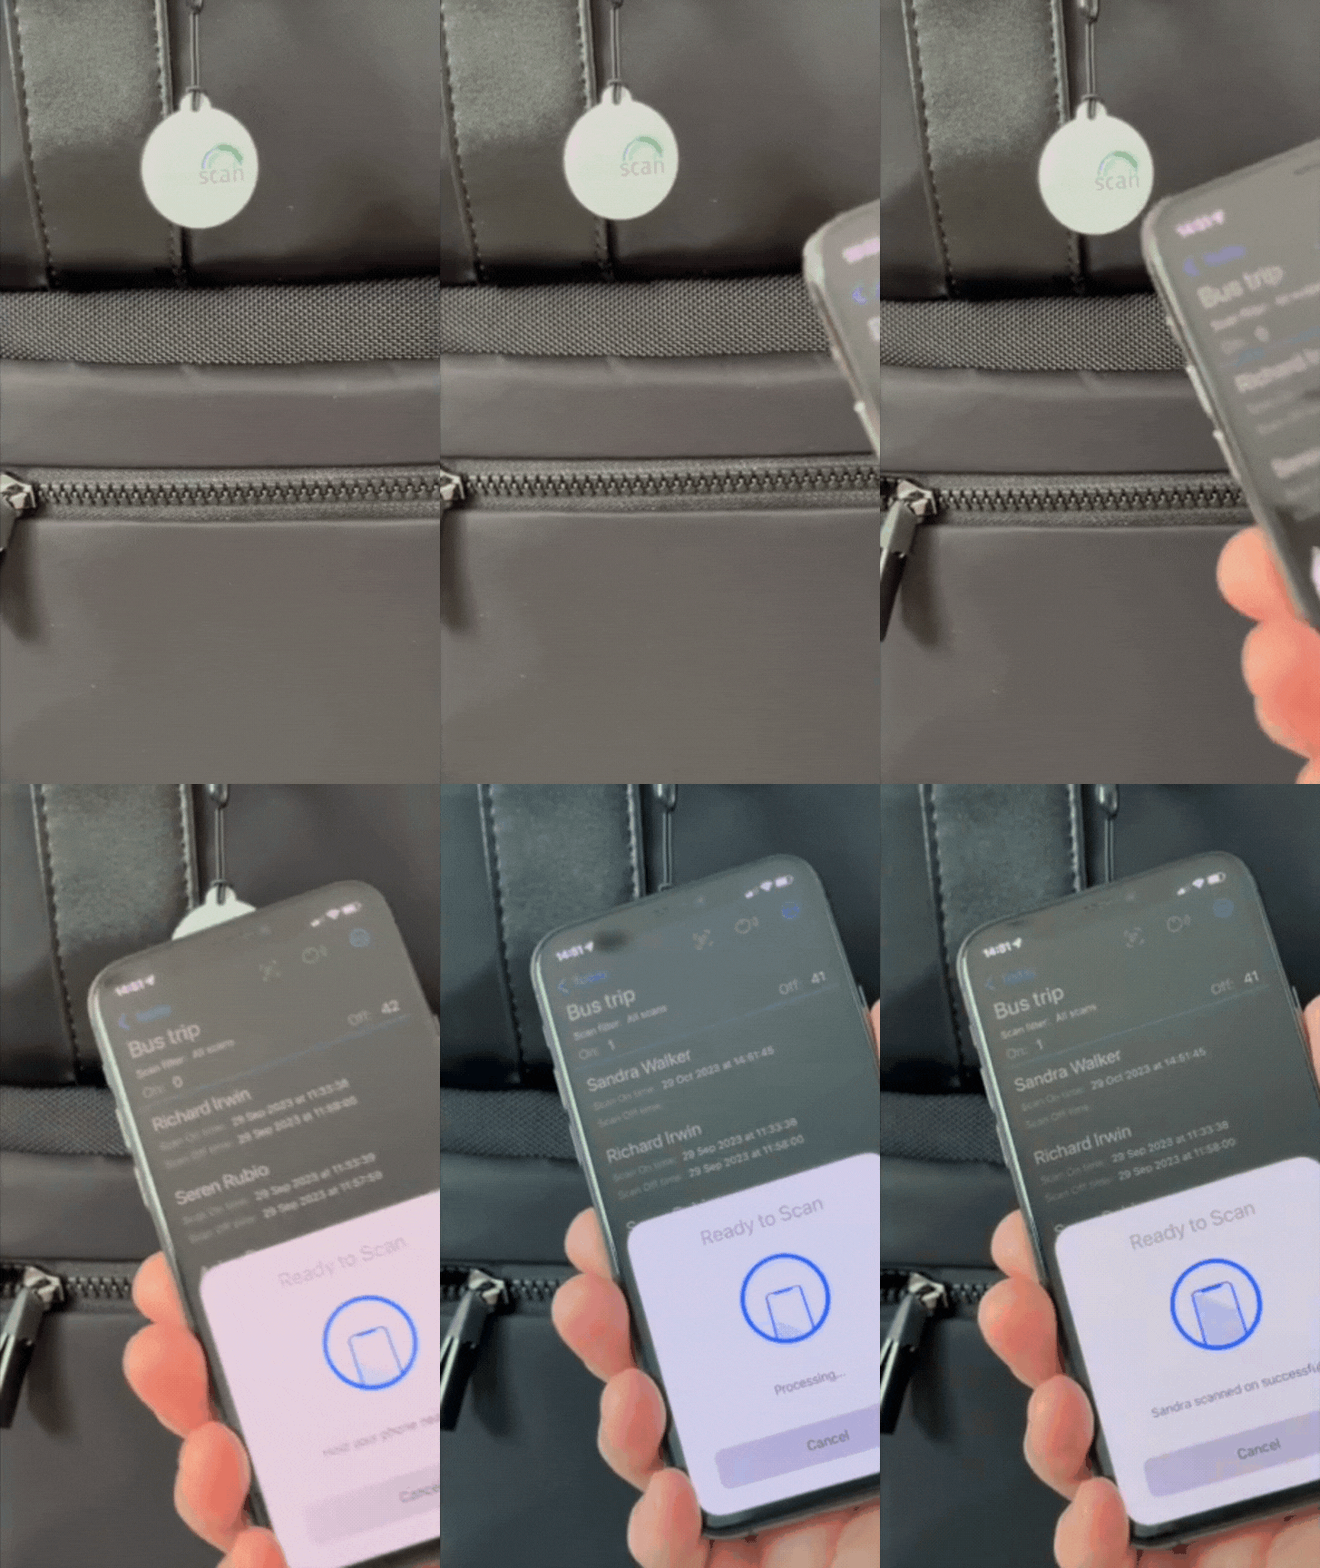
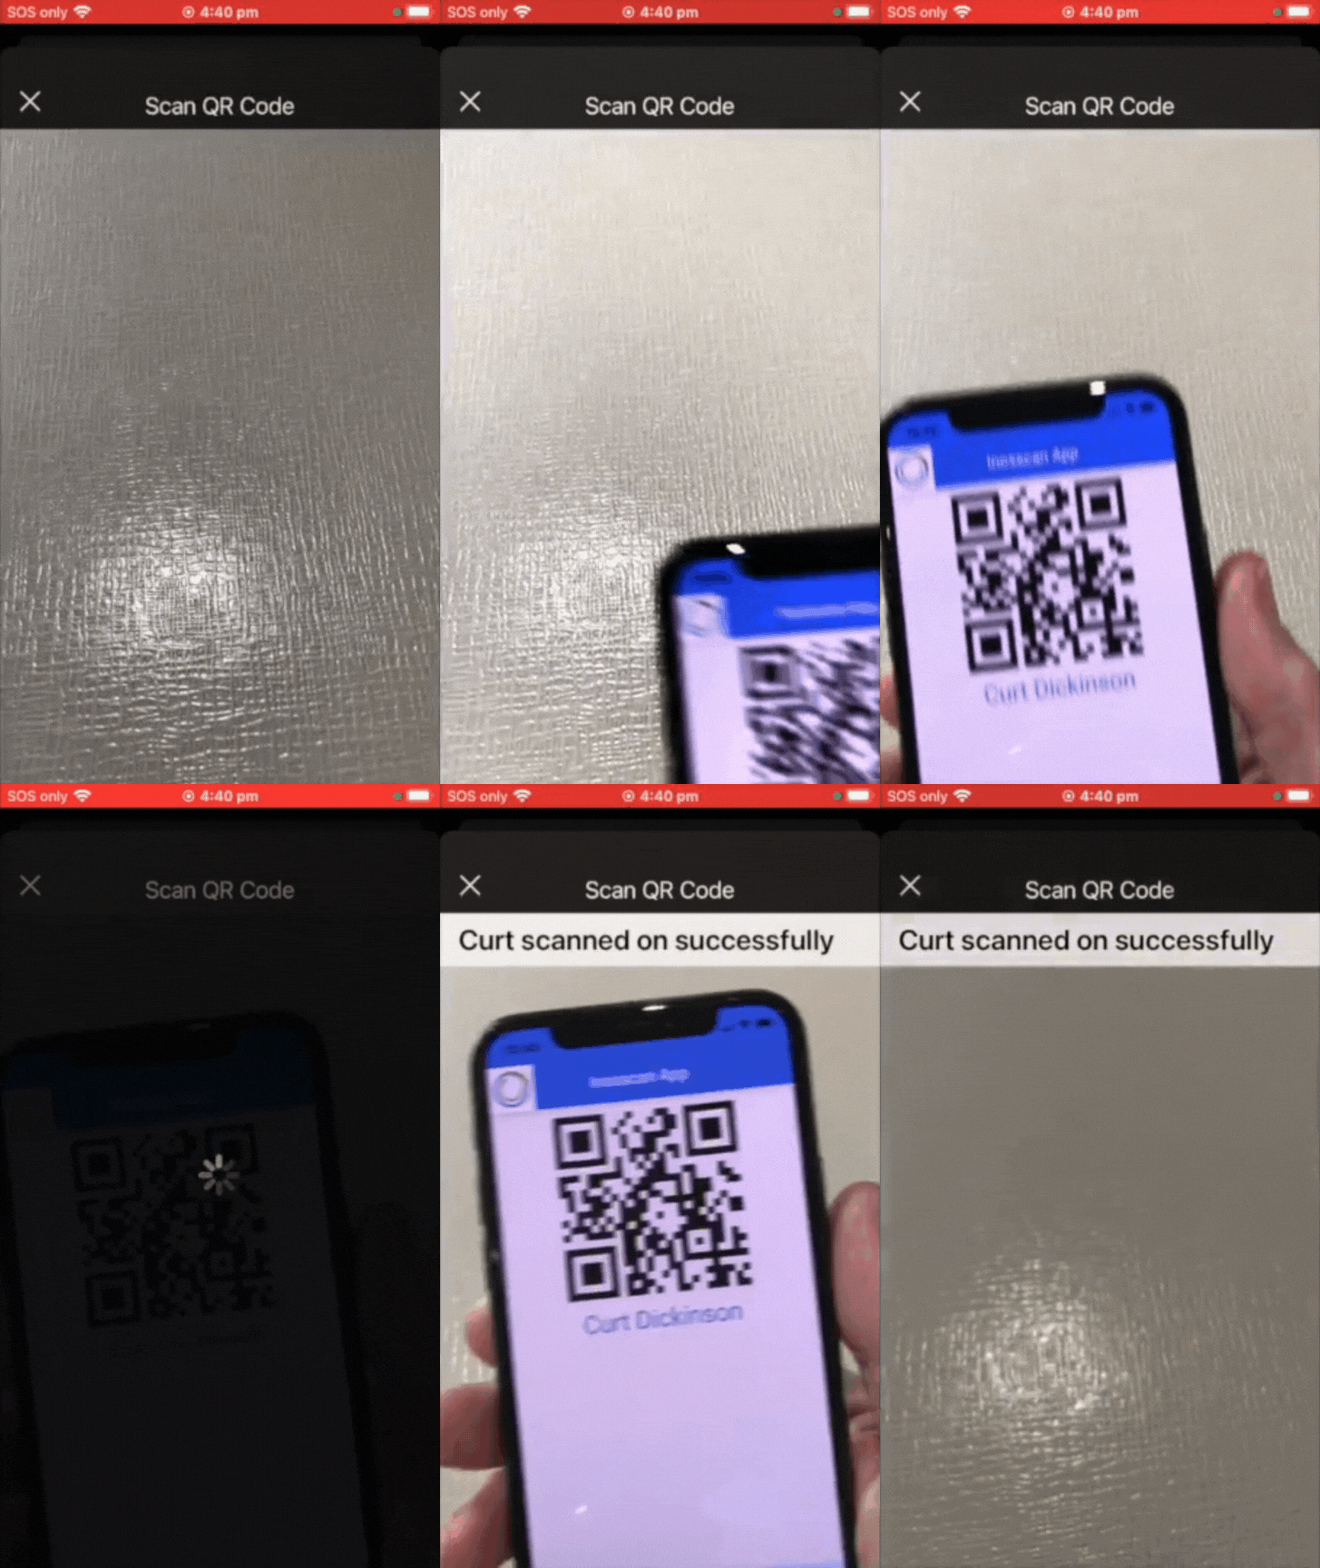
Tap a scanner icon from the top of the Event’s detail page to scan an NFC Tag or QR Code.
Present either an NFC Tag or QR Code to be scanned
Scan as many as you like then close the scanner
Video showing check-in and check-out for a bus trip using Inosscan
The two videos below show scanning an NFC tag and a QR code with a phone using Inosscan.


User guide links:
That’s it, in just a few minutes you’ve run your first event on Inosscan – easy as 😊